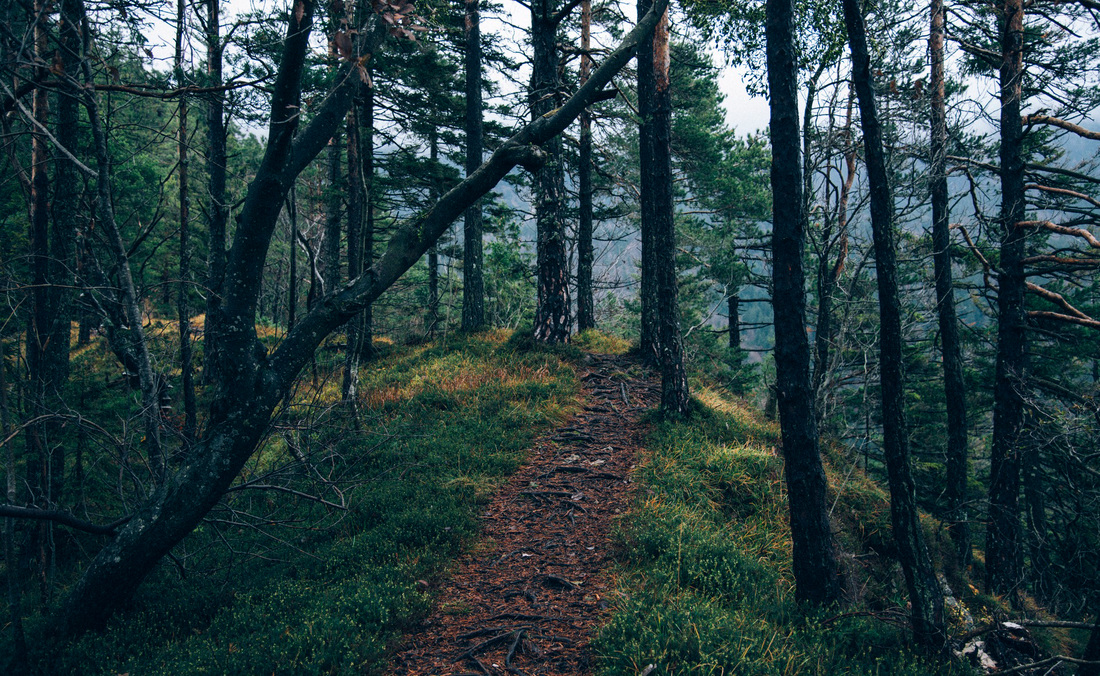
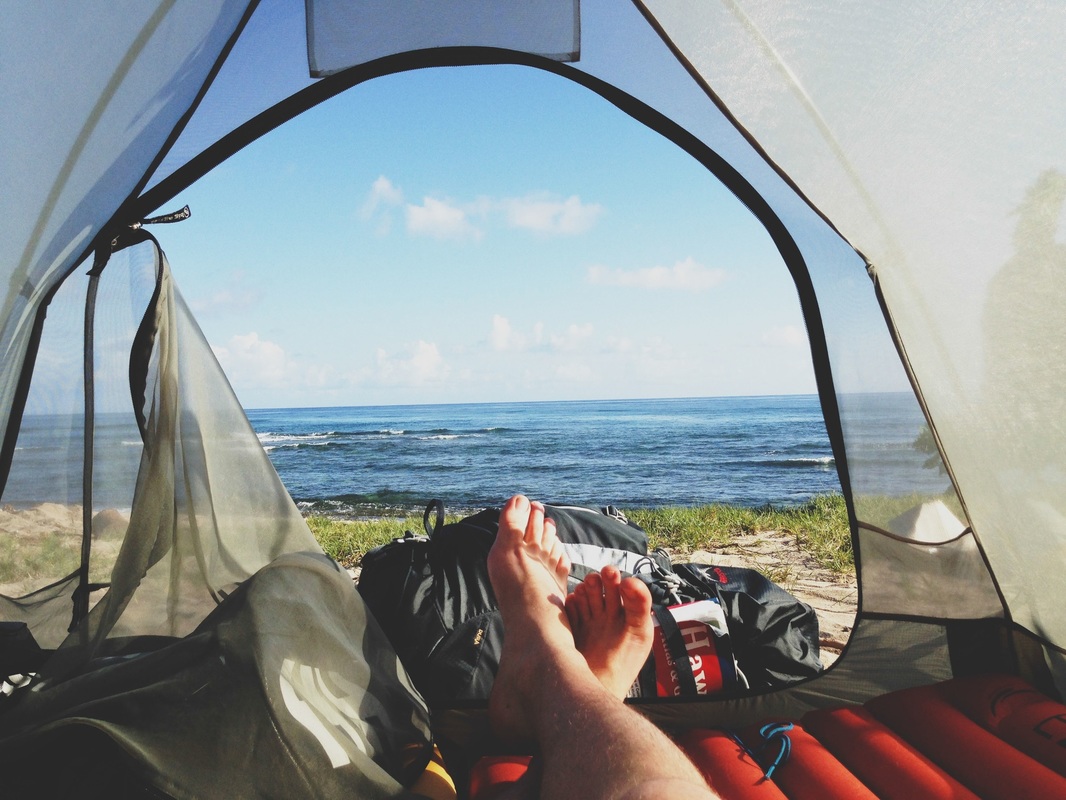
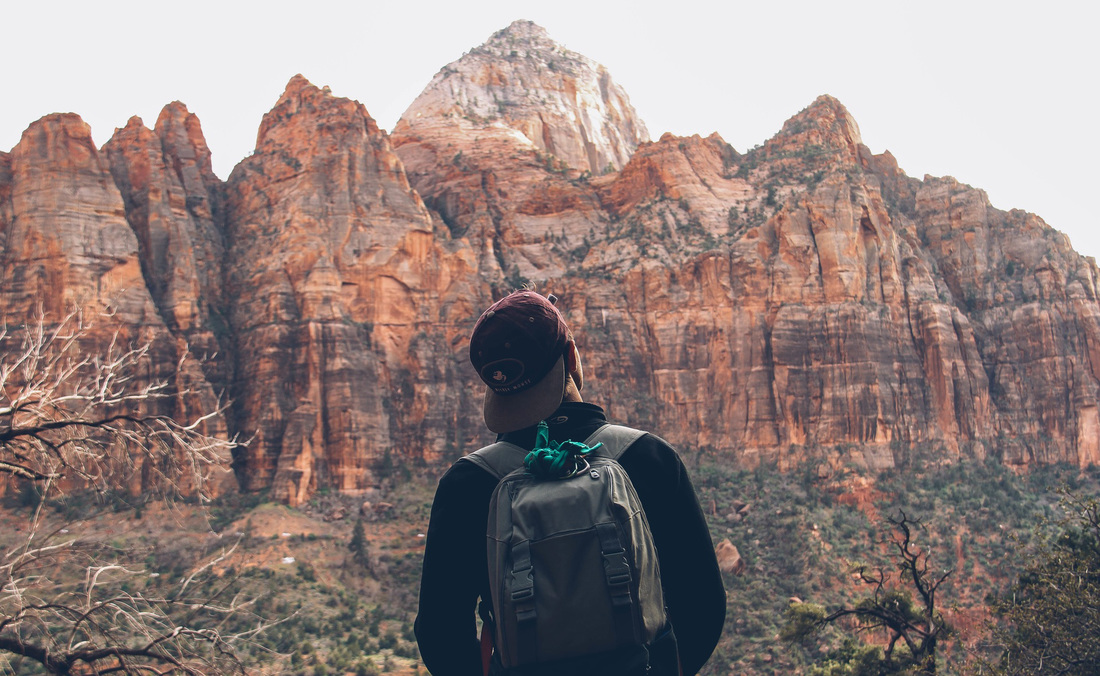
I'm James. This is my year of travel.
Grab the red and black paper, glue, and a poppy flower template for this project. You need a handful of supplies to make these giant paper poppy flowers. So, build this diy paper poppy backdrop that will bring tons of visual grace to your photographs and will not take that too long to be in front of you. So, it is always a cool background that makes the picture look interesting. The gathering should always end with nice and cool photography sessions, so their memories will get permanently saved in the form of a picture. Explore the entire collection of these best DIY photo backdrop ideas Ideas to see a lot more and praise-worthy designs. #CHEAP WHITE BACKDROPS FOR PHOTOGRAPHY INSTALL#Choose the magnolia leaves, coffee filters, and patterned fans that will also rock to install precious photography backdrops. Use the big plywood rounds and wood corks to build a giant weddingmoon backdrop and mount the rustic frames on the wood wall to create a rustic wedding backdrop. 
Take the paper plates, sheet grass, and trellis to make flawless beach-inspired and natural green backdrops. Use the paper to install also the geometrical, watercolor, and even the mermaid backdrops. String up the flowers, glue the paper flowers on the wall, or tape off the natural flowers on the wall to get instant beautiful floral backdrops. Make the giant faux flowers out of colorful cardstocks. These photo backdrop ideas are sure to impress at a very first look for sure.įor floral backdrops, you can go with both real or faux flowers. Explore these 25 DIY photo backdrop ideas and see a big collection of homemade backdrops that will rock for the wedding photo booth, birthday photo booths, and even graduation party photo booths. #CHEAP WHITE BACKDROPS FOR PHOTOGRAPHY PROFESSIONAL#These projects will use ordinary and inexpensive materials and even recycled items to build professional style DIY backdrops. Unlike the professional backdrops, they are fairly easy and inexpensive to install but will come with the same grace and charm. So, Get these 25 unique and easy DIY photo backdrop ideas to make your own photography backdrops that are guaranteed to take your photography to the next level. They are must to add in the photo booths to not let the photos look dull or unattractive. You will need brighter lights this way, but you should be able to achieve a similar effect with a flat surface.The backdrops are crucial when you need to bring the necessary pop, elegance, personality, and colors to your photos. One thing you could try is to use a white translucent plexiglass sheet as a backdrop, and light it from behind. Since you are trying to shoot down at the floor it gets a little tricky since you can not easily light the background separate from the subject. 
Spot metering allowed the exposure to be set for the front of the bottle, and since the background was 2-3 stops brighter, it ends up completely over-exposed. I pointed 2 lights at the wall behind, and used spot metering on the bottle. The bottle was sitting on top of a coffee can (you can just see the lid) about 3 feet away from the wall behind it. 
This shot was taken in front of an off-white wall in a somewhat dark room. It works best if you can put a little distance between the subject and background, and the key is for the background to be well lit.īasically, you're just trying to expose for the subject and totally overexpose the background. (see What lighting equipment should I get on a very tight budget?) I use a white sheet and a set of clamp lights with daylight cfl bulbs. leaving a final version, which looks expensive but was in fact a very cheap setup: This is easy to fix in photoshop as the background is pure white! Likewise, the edges of the sheet can be fixed. The problem here is that you can sometimes see the lightstand poking out from behind your subject: However when I was first doing this sort of thing on a budget (with a white sheet background) I found I could get away with two lights (one background light) because that was all I had! Here's the setup I used: Everyone says you need a minimum of three lights to do this, one for the subject and two to get even lighting on the background, like so: White Seamless Tutorial :: Part 1 :: Gear & SpaceįStoppers: Learn The Many Uses of White Seamless with Zack Arias 
Zack arias has some blog posts and videos that give some good advice on working with seamless white backgrounds: The more space you have the easier this is - firstly you can throw more light at the background to even out creases is your material of choice without it bouncing back onto your subject, and secondly the longer lens you use, the smaller your background can be, to the point where if you're using a telephoto your background only has to be just bigger than your subject.
0 Comments
Leave a Reply. |
AuthorWrite something about yourself. No need to be fancy, just an overview. ArchivesCategories |
 RSS Feed
